

How To Install Skins In Gta San Andreas
Play equally a ped using Skin Selector
Tools: Skin Selector and Cleo Library
Tutorial writer: FunGt
This tutorial explains how to plough CJ into any other PED of San Andreas using Skin Selector. This Peds ID List combined to peds.ide file may be very useful to know which ped yous want to replace. This mod allows yous to choose any ped or special actor right into the game. Furthermore, this modern allows to add together 256 new skins without replacing any ped.
Skin Selector installation:
- Install CLEO library if yous haven't it withal.
- Download and extract Skin Selector somewhere.
- Copy to CLEO folder only one of the cs file included in the archive. The skin_o.cs and skin_c.cs files saves the game respectively to "CLEO\skin_o.sav" and "CLEO\cleo_saves\" and both allows you lot to load the game with custom peel. The skin_n.cs files doesn't save and the game will load default CJ skin.
- Copy skin.img file into CLEO folder.
- Copy gta.dat into data binder replacing old one.
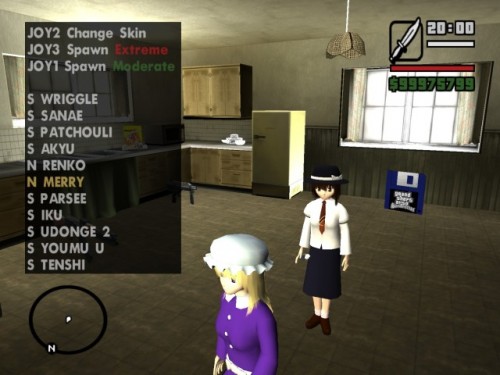
- Run the game and concur TAB + Q + E buttons to actuate the carte. If you inverse default San Andreas buttons utilize Secondary Fire + Next weapon + Previous weapon.
- Follow menu istructions to change the skin.
Install a new skin and play with it:
- Download a skin with its own dff and txd.
- Extract the mod somewhere.
- Run Alci's IMG Editor, File>Open and select skin.img from CLEO folder.
- Click Import and add dff and txd of the skin downloaded.
- Click Rebuild, then Save and close.
- Run the game, open up the Skin Selector menu and select the third detail.
- Here you lot should find your new peel, and then select it and play.
Advertisements

Source: https://www.gta-modding.com/san_andreas/tutorials/play_as_ped_skin_selector.html
Posted by: broadwatersniters.blogspot.com
0 Response to "How To Install Skins In Gta San Andreas"
Post a Comment